Showing posts with label Recipes. Show all posts

Sunday, 30 June 2013

Recipe: Lemon and Mint Biscuits

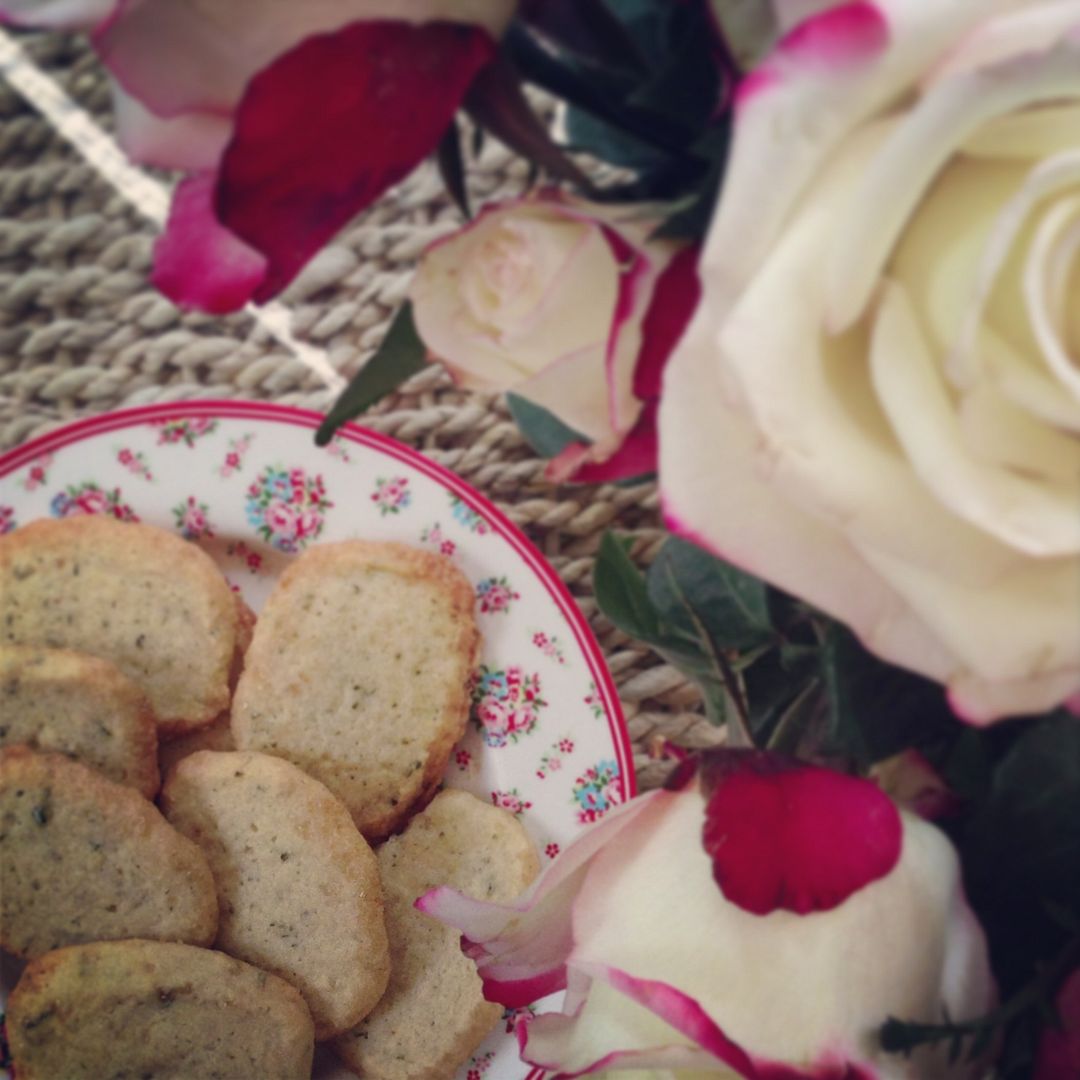
Lemon and Mint biscuits 
Just lately I seem to have a constant supply of lemon and mint in the house.  Not surprising, I suppose, considering it's one of my favourite flavour combinations (Five Valleys lemon and mint cordial is amazing if you haven't tried it; it's a store cupboard staple in this house.)

J, my stepson, was coming to stay for the weekend on Friday and I like to have something freshly baked for his stay, if I can.  Given the huge pile of lemons in the fruit bowl and an overflowing herb crate of mint I thought I'd try the biscuit recipe I found in my 'Secrets of Aga Puddings' book by Lucy Young.

They are easy to make and taste quite sophisticated (if you know what I mean).  You could certainly make them to accompany a syllabub, mousse or fruit salad as a special dessert but it's also nice to have a couple with a strong coffee and an episode of 'Stenders if that's your bag.

••••••••••

Lemon & Mint Biscuits 

Ingredients
175g softened butter
Finely grated zest of 1 lemon and 2tbsp lemon juice
2 tbsp of chopped fresh mint
110g caster sugar
225g plain flour
25g demerara sugar

Method
Beat together the butter, lemon zest, lemon juice, mint and caster sugar in a mixing bowl until light and fluffy. Stir in the flour, bringing the mixture together with your hands and knead lightly until you have a smooth dough.  (My dough was quite sticky so I needed to liberally flour my hands and the kitchen counter.)

Roll the mixture into two sausage shapes, about 6" long each.  Roll the dough in the demerara sugar to evenly coat, wrap in foil or baking parchment (not cling film; the mixture will stick) and then chill in the fridge until firm.

Cut the dough into slices about 5mm thick and place on a baking sheet that you've greased and/or lined with baking parchment*.  Allow a little room for the biscuits to spread. 

AGA baking:  Bake on the grid shelf of the floor of the baking over for 12-15 minutes until pale golden brown.  (For a two-oven model slide onto the grid shelf on the floor of the roasting oven with the cold sheet on the second set of runners.)

Conventional oven:  bake in a preheated oven at 160 ºC/140ºC fan or Gas mark 3 for 10-12 minutes.

Lift the biscuits onto a cooling rack and leave to cool completely before scoffing delicately nibbling. 

*Here's where I sing the praises of my new cooking essential:  Bake-O-Glide.  I have only been using it since we got the new stove but I wish I'd bought some when we had our regular oven.  It's a reusable tin liner and comes either ready-cut (for roasting tins, baking sheets etc) or as a single piece for you to cut to size.  Nothing ever sticks to it and it's dishwasher-friendly.  Can definitely recommend you try some if you don't use it already.

••••••••••

Let me know if you make them!  They went down quite well here and I'm thinking of other flavours I can add to the biscuit mix.  Lavender and rose are obvious choices for me!  Orange would also be delicious.  If you're not keen on mint then you could easily leave it out - they would still be lovely.  


Nicki 

x


Monday, 21 May 2012

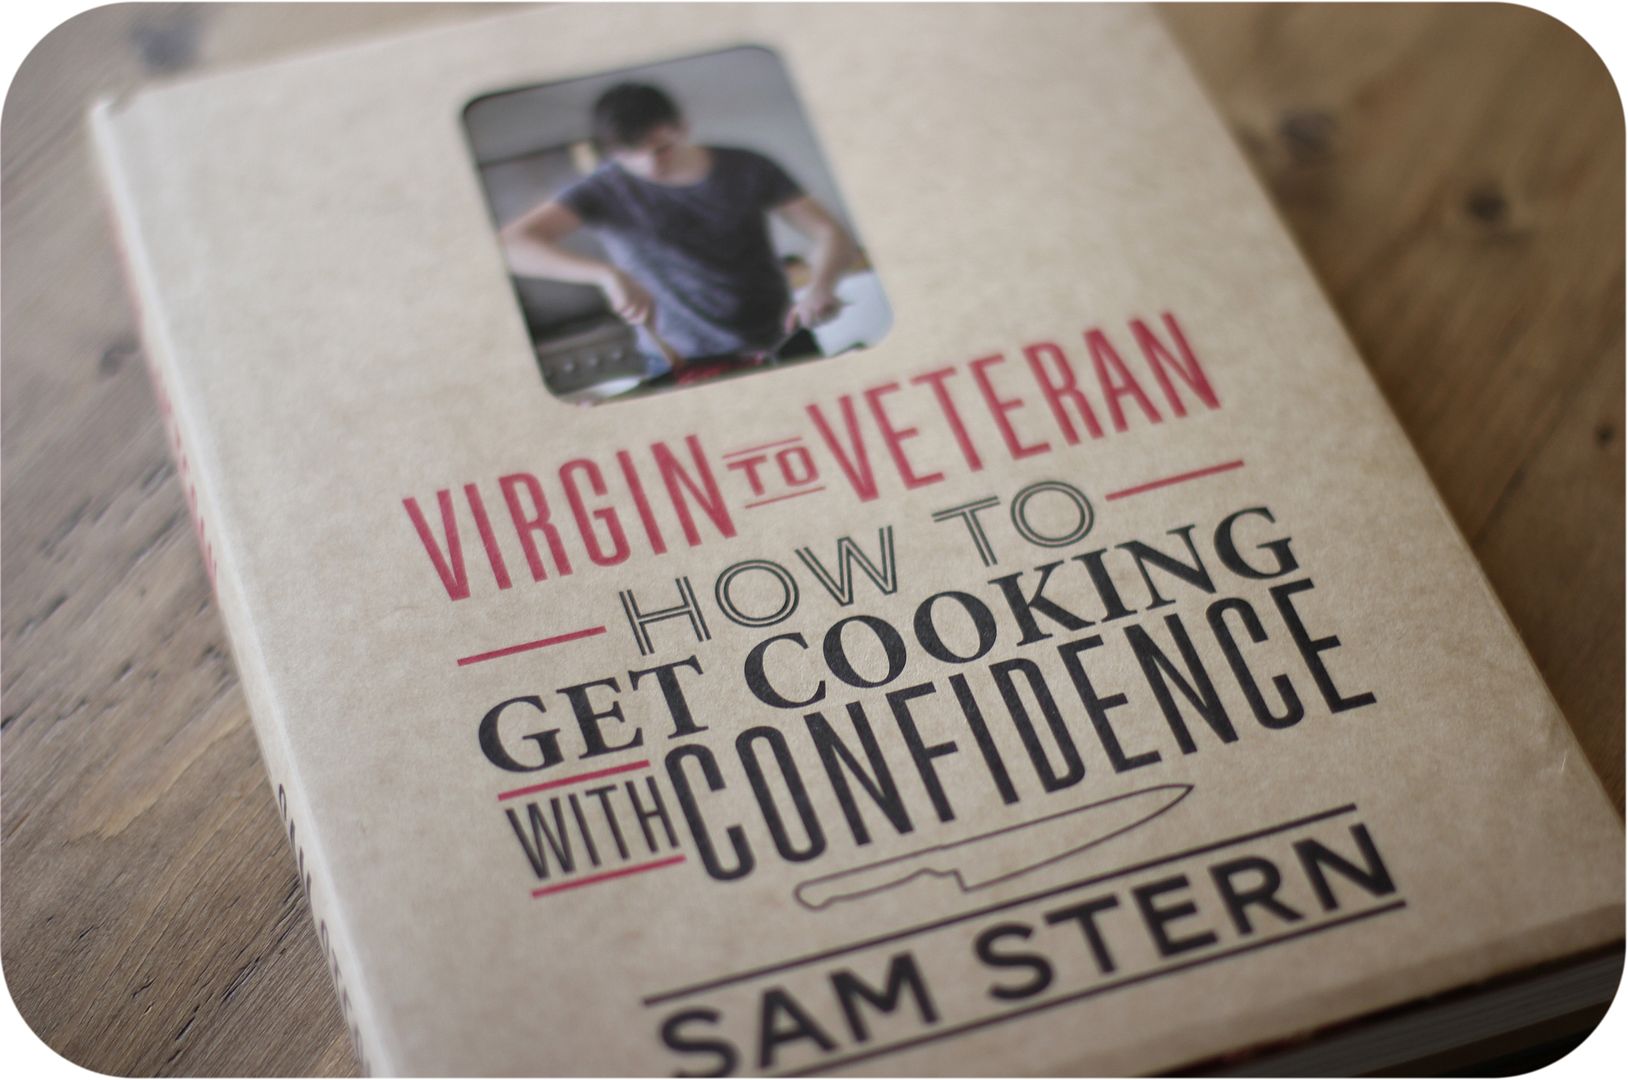
Sam Stern 'Virgin to Veteran' and a spot of vintage shopping


As soon as I heard about the opportunity to review this book, I stuck my hand up.  I'd heard of Sam Stern before and considered buying one of his books but never quite got round to it.  His previous books have been, I think, very much aimed at a younger audience (hence my temptation to buy one - I am not a confident cook) and I am quite sure that his latest book - Virgin to Veteran - was written especially for me!

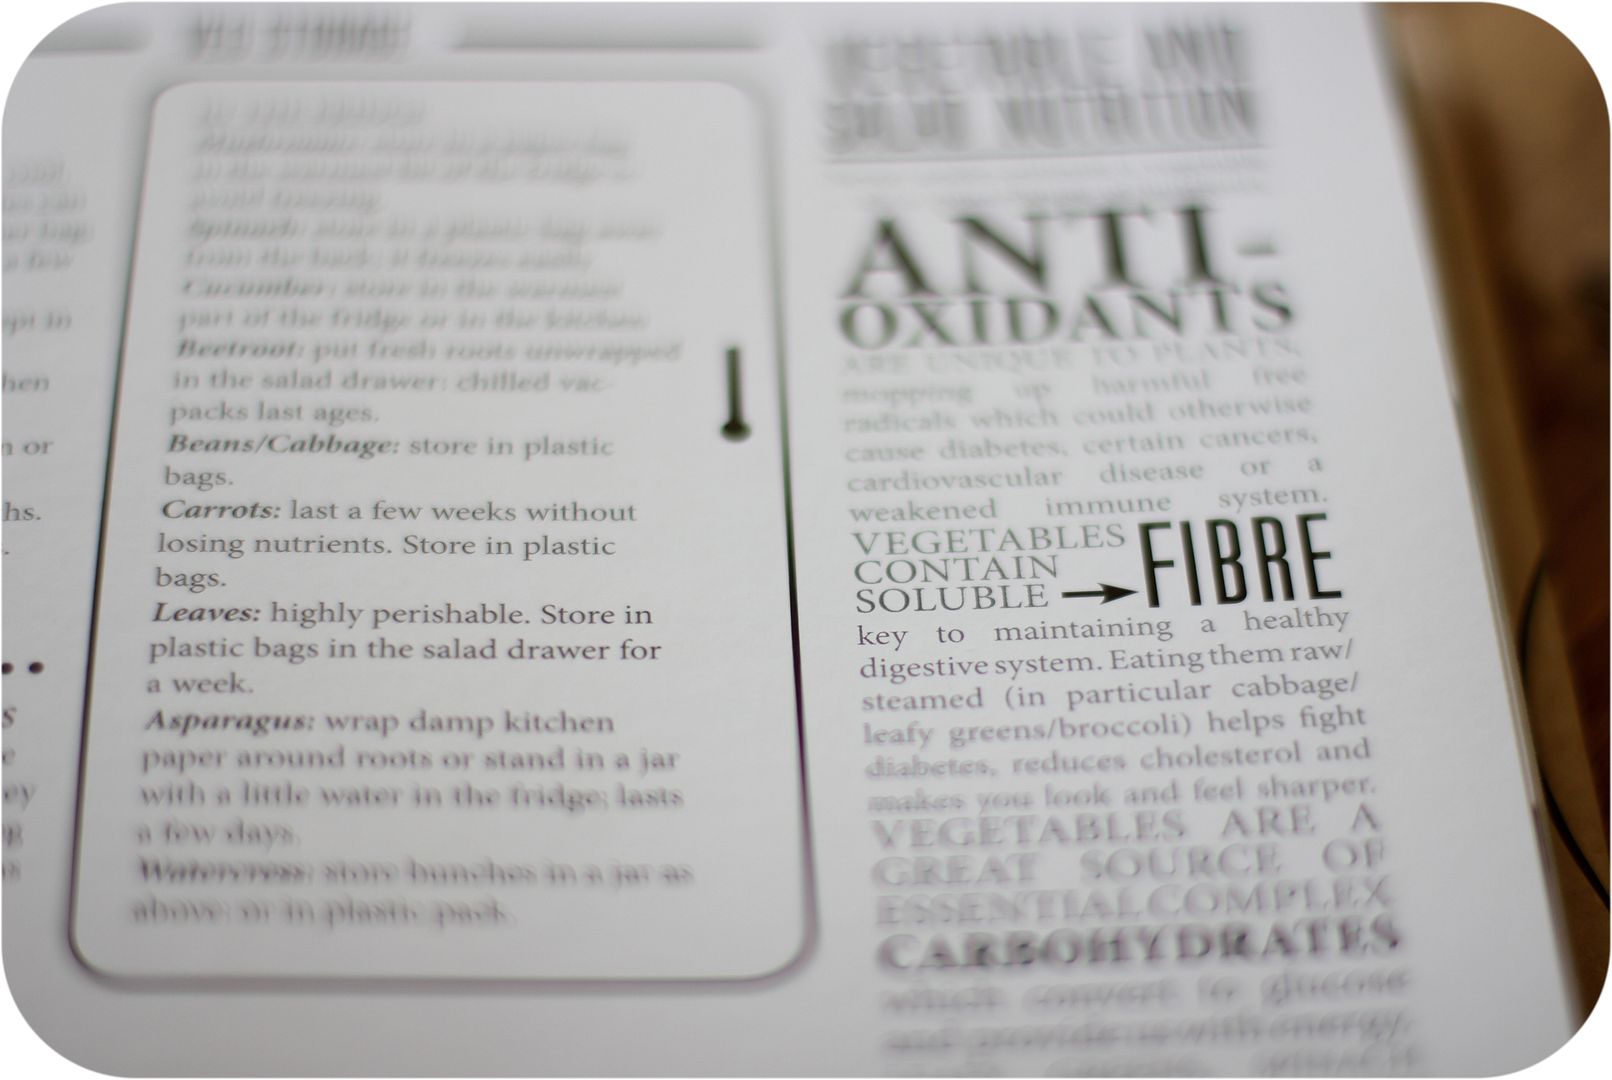
The book starts with loads of helpful little tips about food and cooking techniques.  It includes hints on 'Fridge Etiquette', 'How To Freeze Stuff' and suggests what to keep in your store cupboard.  There is a whole section on 'Vegetables and Salads' advising what to look for when choosing veg, how to cook different types of vegetable and which dishes to serve them with.


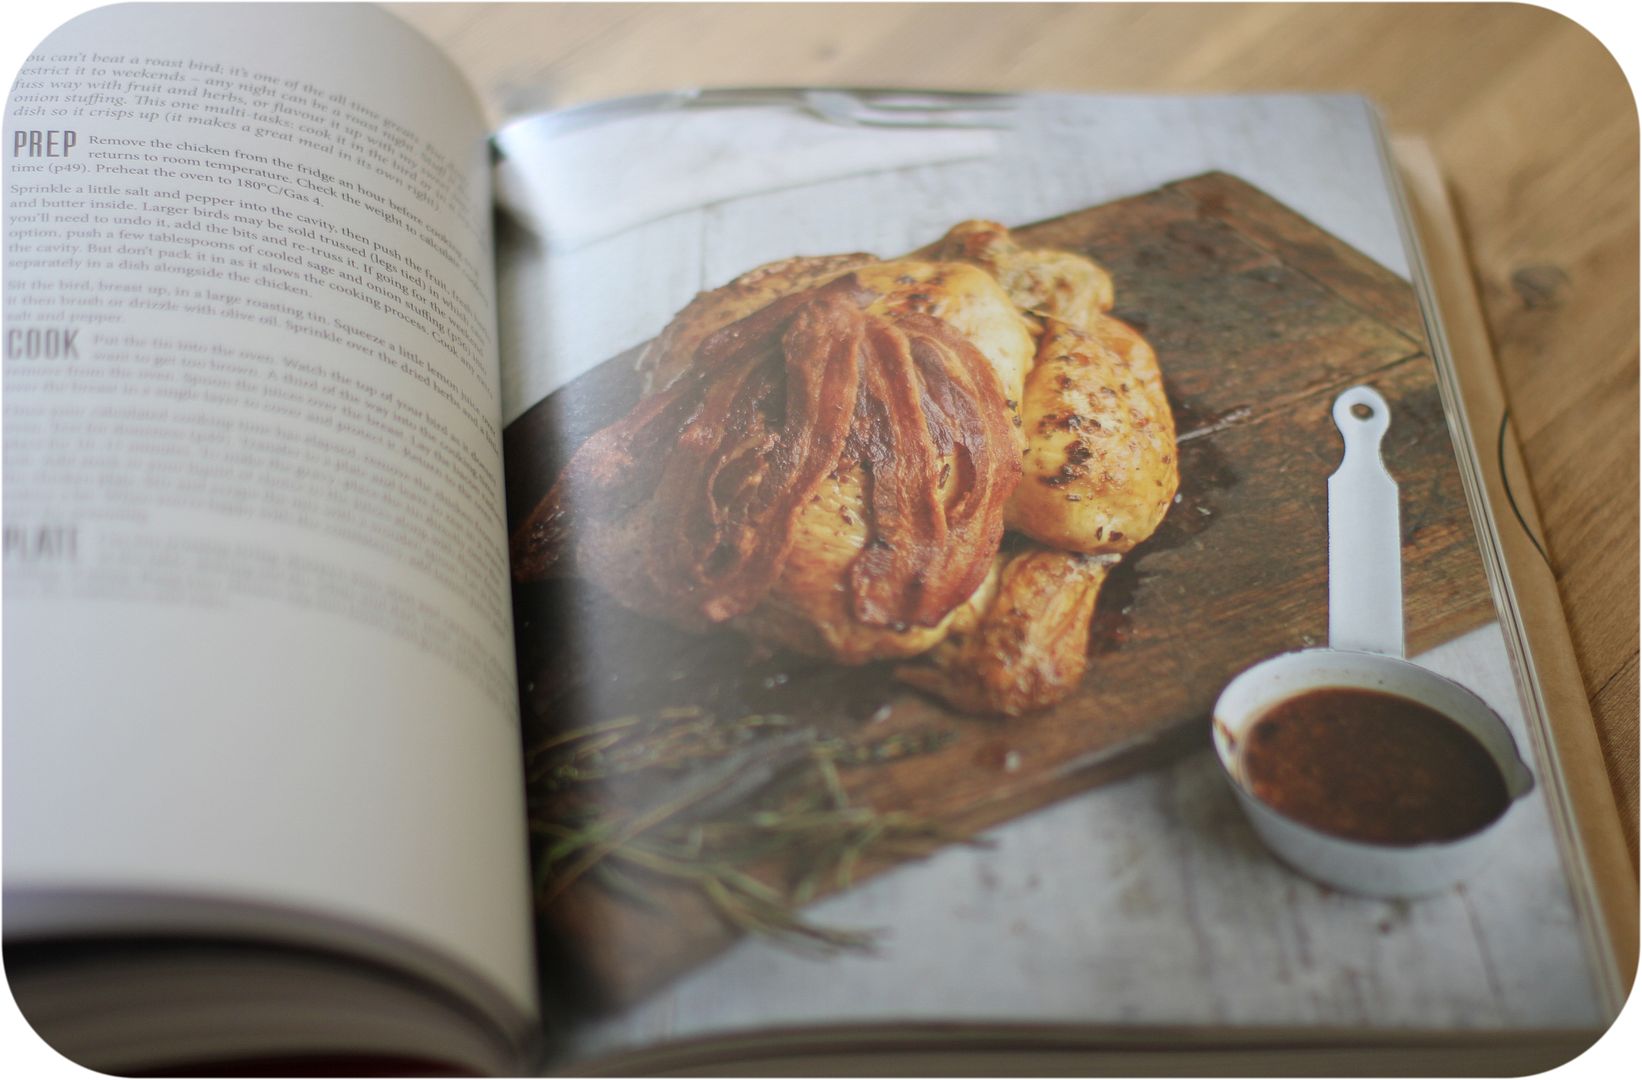
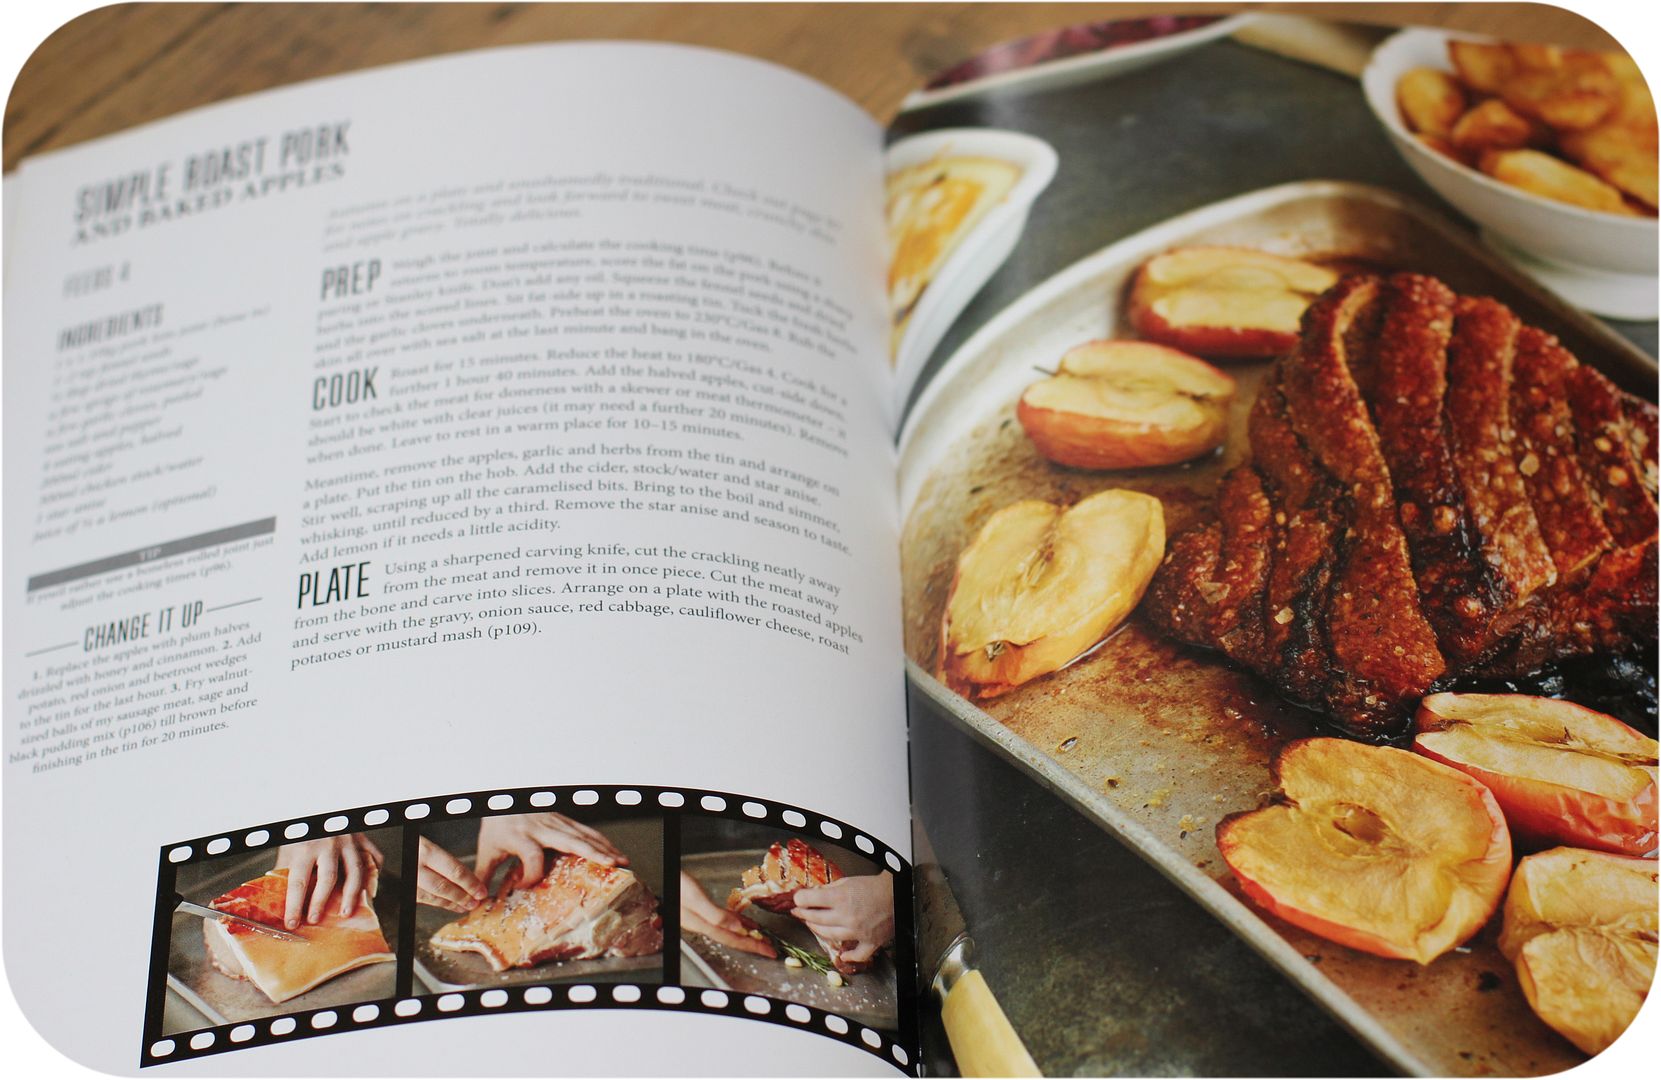
It covers all of the basics including fish pie, roast chicken and spaghetti bolognese and there is a fab recipe for roast pork and baked apples.


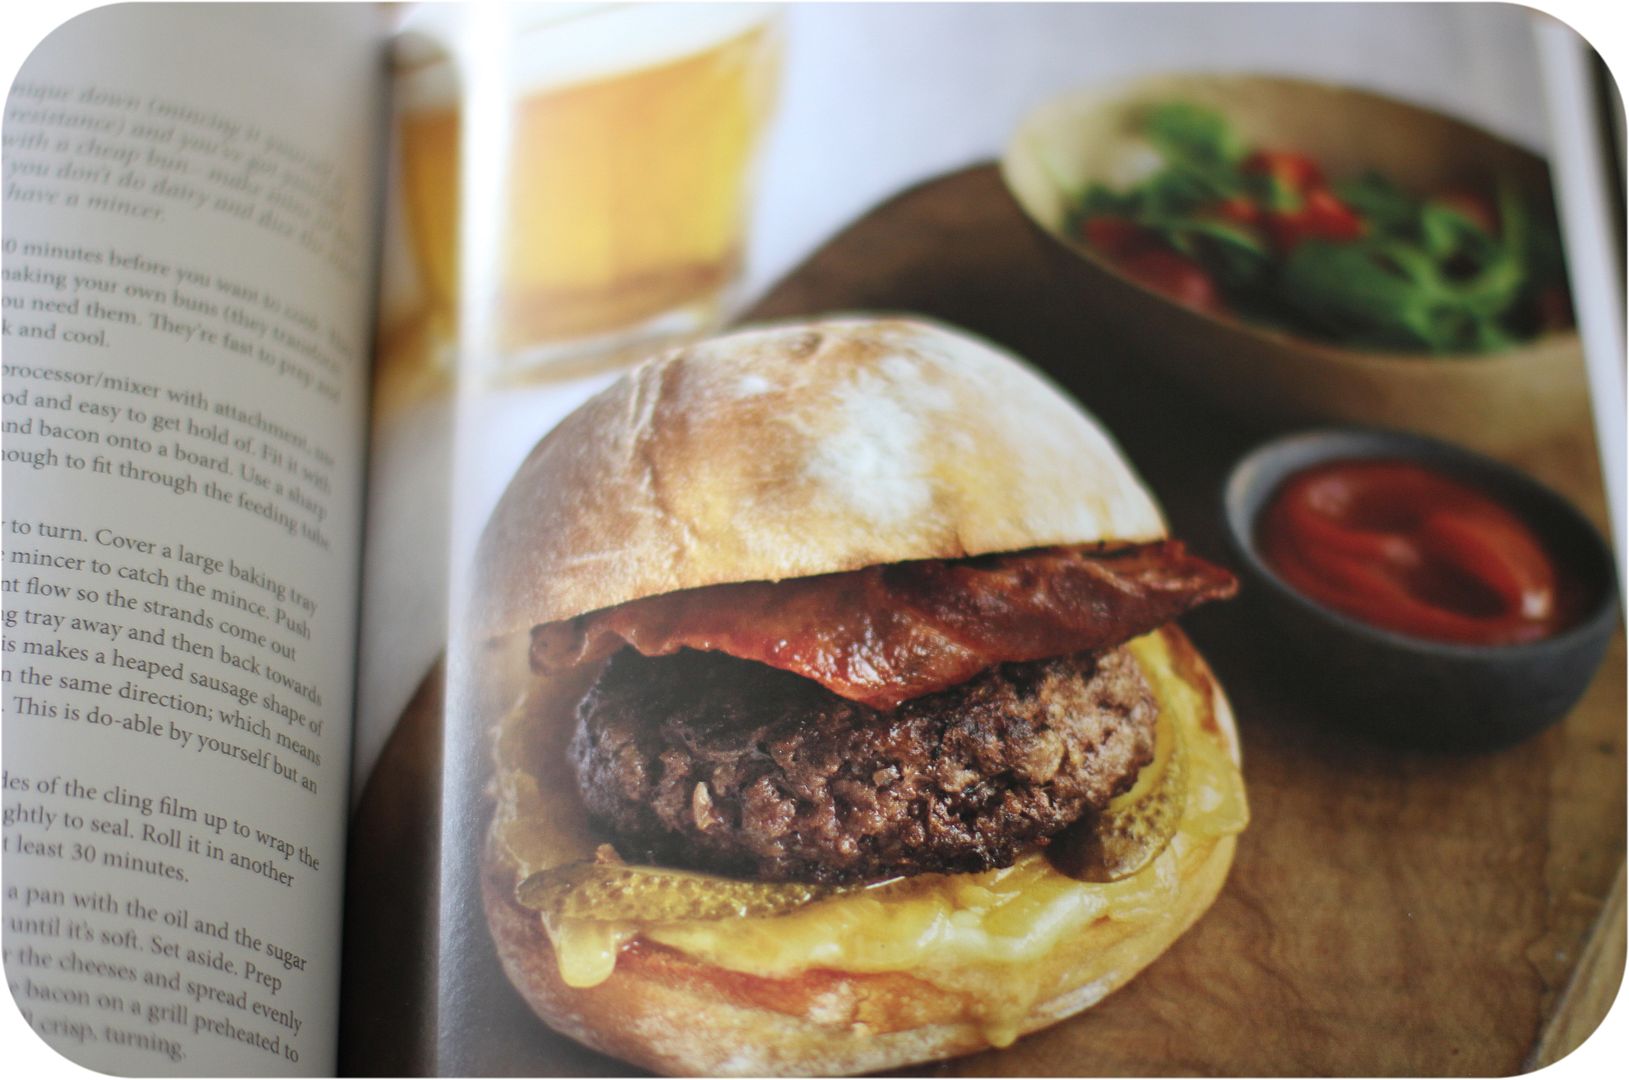
Although it includes all of the basics you'd expect to see, a few unusual recipes also make a welcome appearance - the aromatic lamb madras, Greek lamb pie and asparagus ravioli all sound delicious. There are also a few burger suggestions I'd love to try out.


The book didn't just appeal to me because I'm a novice cook (although it would be a fantastic gift for any teens who are heading off to uni this year).  To me, the book is a celebration of good, simple, tasty food.  It appeals to my appetite for fresh flavours and good quality ingredients.  I can see us using this book a lot - Andrew is trying to improve his culinary skills and has taken it upon himself to try a new recipe each week.  He's going to start with the easiest recipe in Sam's book this week and says he will make bruschetta (with a selection of toppings) on Wednesday night.  One suggested topping with broad beans and feta sounds especially yummy.  I am so hoping for sunshine - a plateful of freshly made bruschetta and a glass of red wine would go down a treat in the garden as the sun slowly sets.

✿✿✿✿✿

We've had a busy old weekend - it was Andrew's 40th birthday yesterday and his Mum's present to him was an all-expenses paid trip to the hotel that we were married in two years ago.  It was utterly delightful and we had the most amazing time.  We had the spa to ourselves for about an hour yesterday afternoon which was bliss!

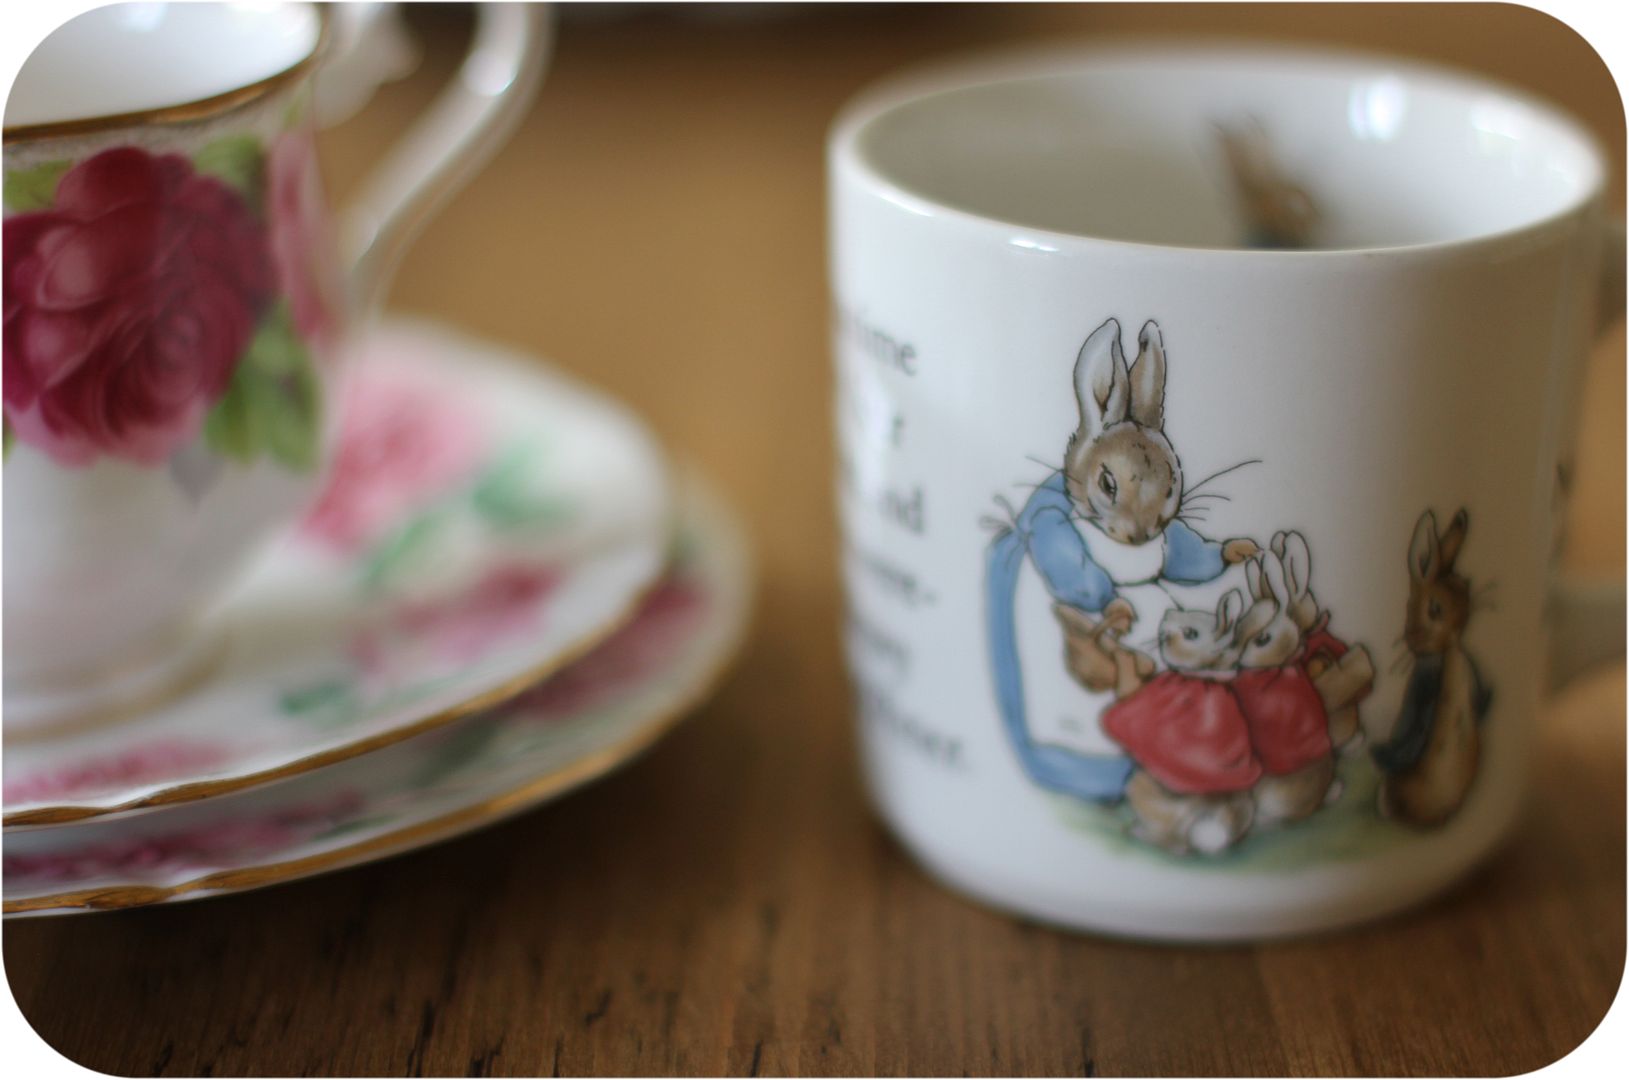
I did manage to fit in a tiny bit of shopping this weekend, though, as you'd expect!  In one of our local towns, Olney, there is a gorgeous little shop called Chic Boutique.  The owner is lovely and stocks (amongst other things) a wonderful selection of vintage china at really good prices - I always want to take the whole shop home with me.  I managed to control myself but did come home with this pretty  floral trio and sweet Peter Rabbit child's mug which I will save for when my niece comes to visit.


Hope everyone has a fab week.  Fingers crossed for some warm, sunny days... 

Nicki 

x

Tuesday, 15 May 2012

Peggy Porschen 'Boutique Baking' and a little cake recipe


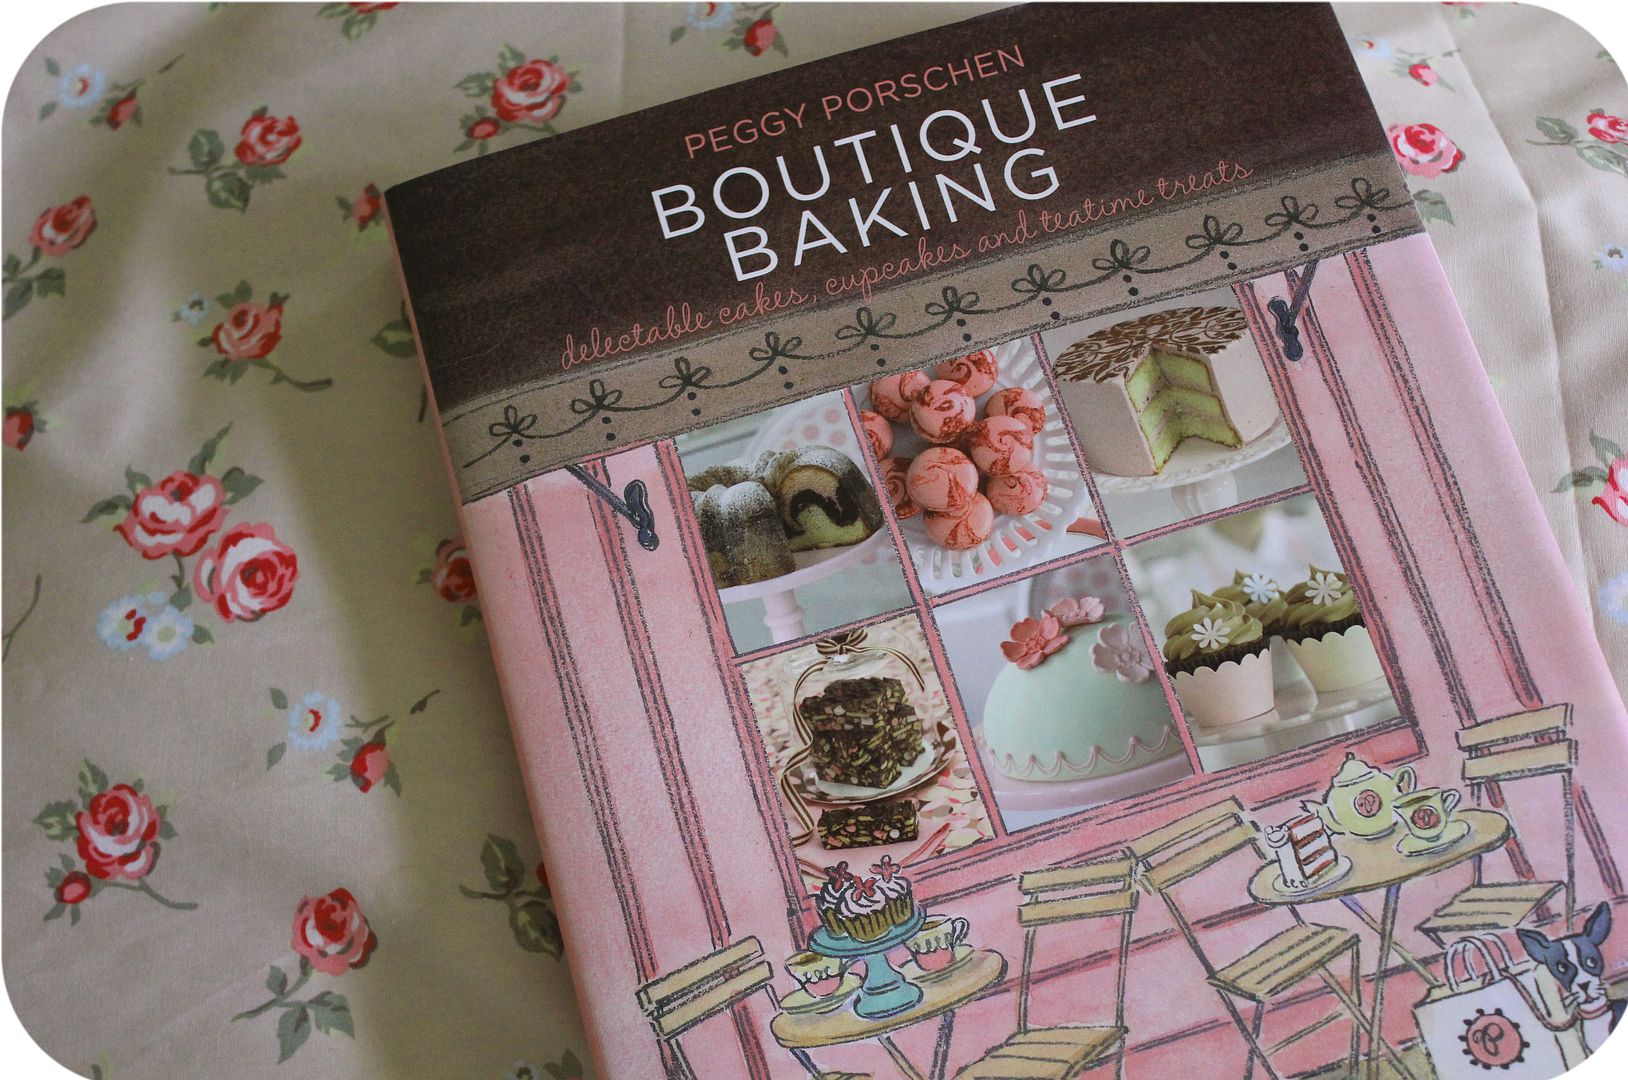
I am a huge fan of Peggy Porschen and love her books so I was delighted to get my mitts on a copy of her latest offering 'Boutique Baking'.  As expected, it is a visual delight.  The cakes look amazing and the photography is stunning.

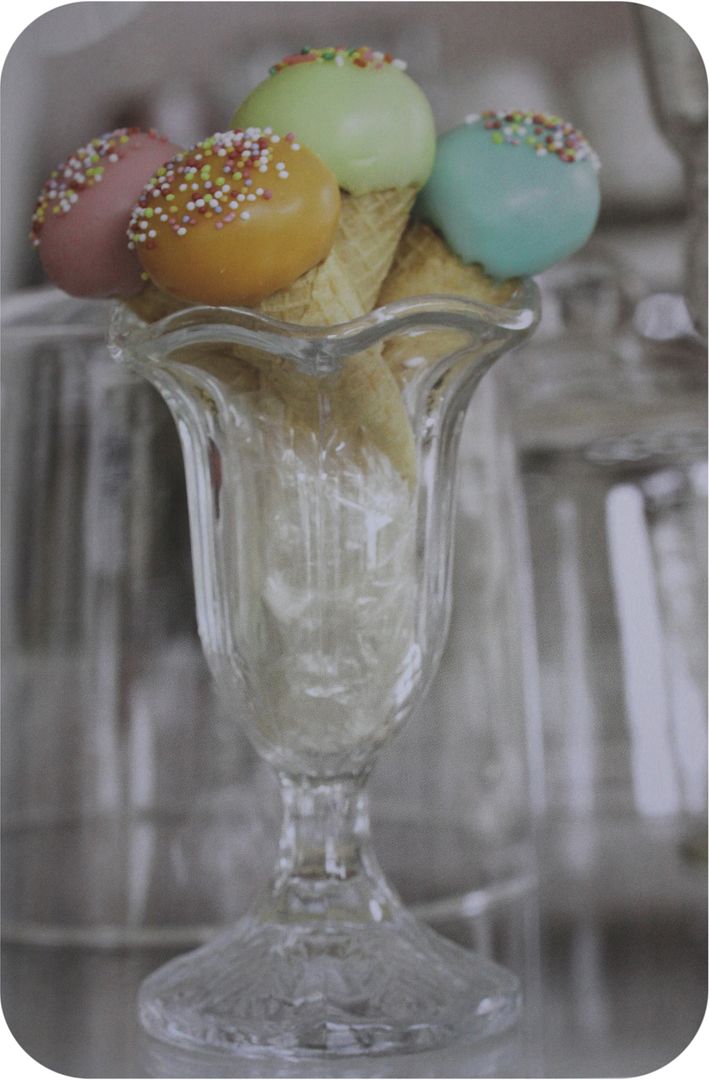
The book begins with recipes such as meringue kisses (gorgeous tiny pastel-coloured meringues), signature macaroons (some are heart-shaped!), morello cherry bakewell tarts and ice cream cake pops.


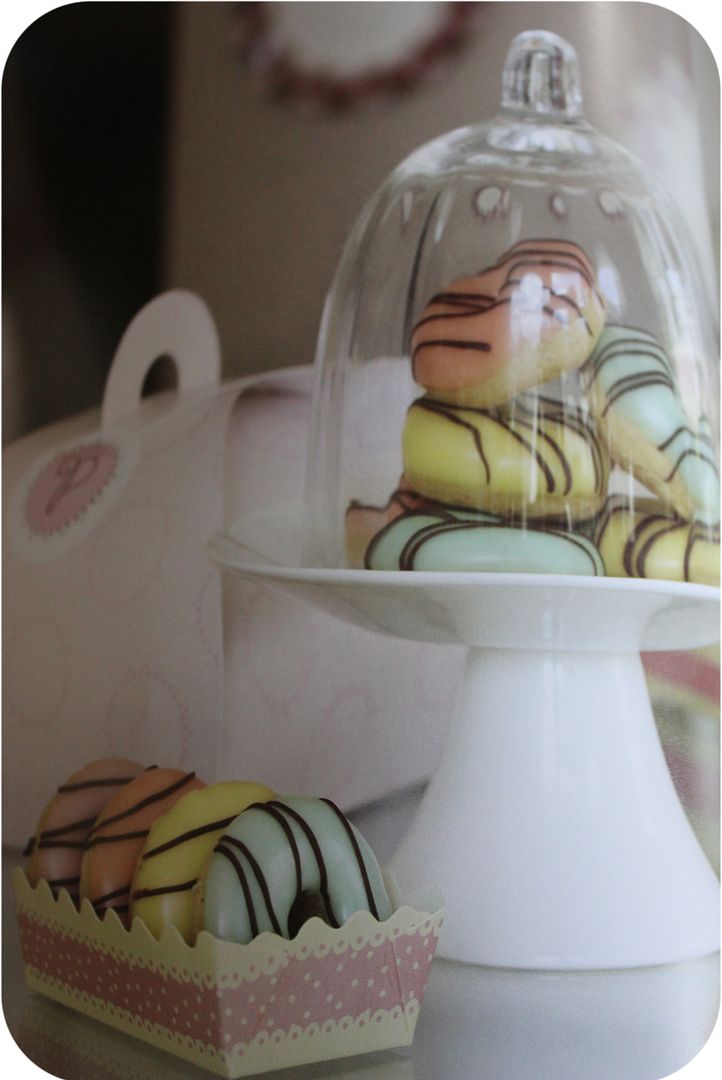
I am definitely going to be making these mini cinnamon doughnuts - my stepson will absolutely love them and they look so nice!  You can be sure I will pile them all up prettily in my cake dome too, just because I can.  


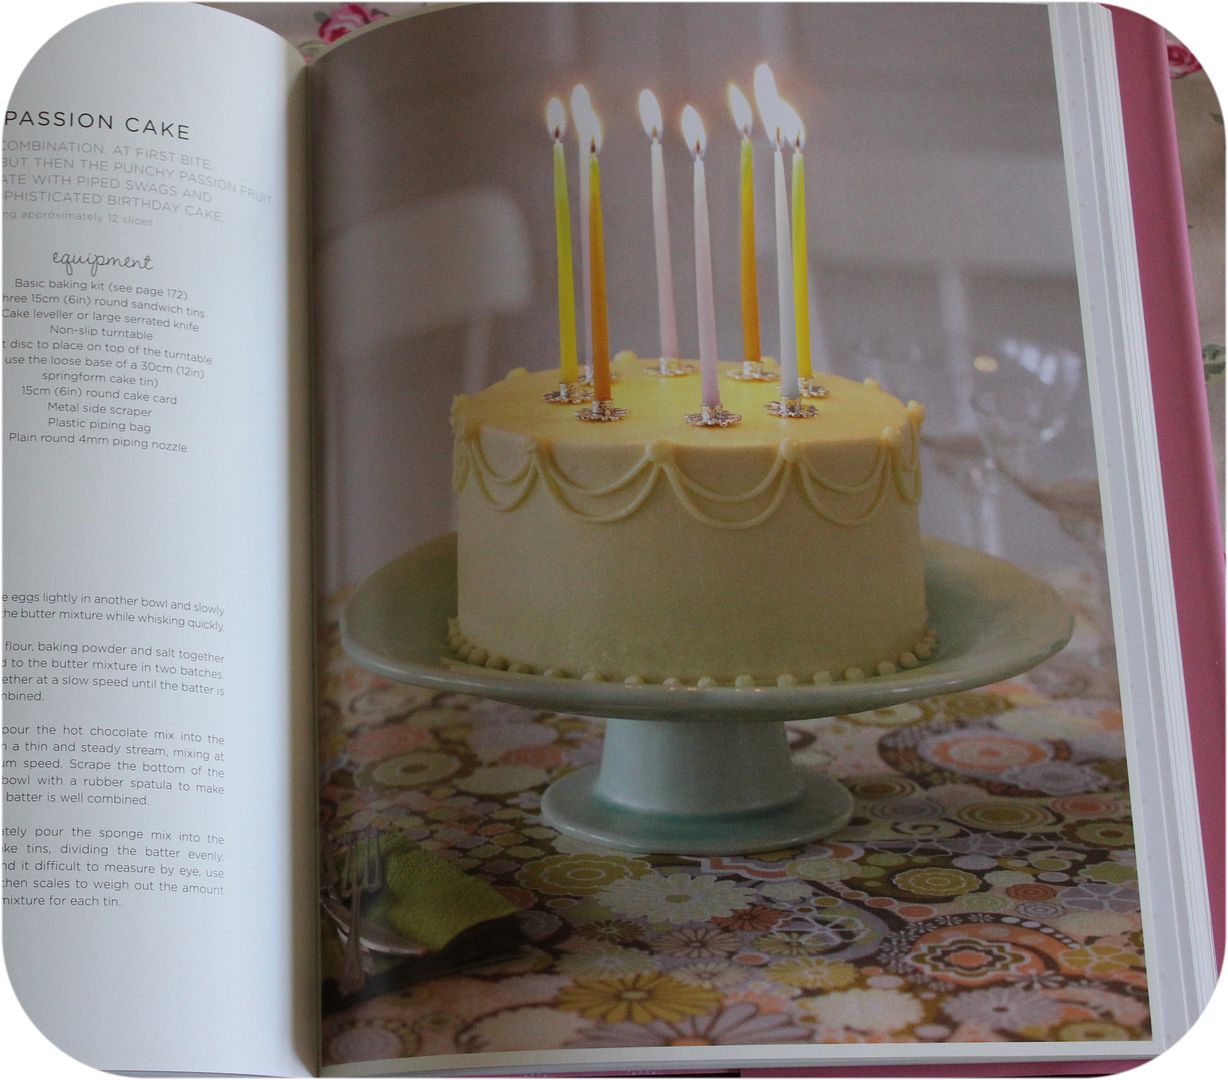
The book also has recipes for layer cakes, cupcakes, drinks and biscuits.  There are mini eggnog kugelhopfs that I plan to try, a lemon, almond and poppy seed cake and this gorgeous white chocolate passion cake looks so good:


There is a very well-illustrated 'techniques' section at the back of the book which gives step-by-step photography on tricks such as how to assemble (and ice) layer cakes and how to create simple flowers with cutters and veiners.  It also has the standard instructions you'd expect on how to frost cupcakes both with icing bags and palette knives.  If you have a special occasion coming up and want to create a beautifully simple but delicious cake you could do worse than trying one from this book. 

I buy this type of book all of the time - they have drool-worthy photography and beautiful styling but the recipes also tend to be fairly complicated with a huge list of ingredients.  I enjoy regular baking but if I was to constantly use recipes like this it would feel like too much of a faff and I am sure that I would be less inclined to get my cake pans out.  There is one super-easy sponge cake recipe that I have committed to memory and can whip up without a second's thought.  It's the recipe I started baking with and the one that I use almost weekly to create simple teatime treats for my favourite boys.  If you're new to baking, this is a great recipe to cut your teeth on.  


I call it the: 

Six, Six, Six Mix

I told you I have committed this to memory and this is how - by keeping the recipe in imperial measures as taught by my Great-Grandmother to my Mum and my Mum to me. (Big apologies to the young 'uns but 1oz is about 25g I think.)

The ingredients are just: 

6oz softened butter or baking spread (Stork)
6oz caster sugar 
6oz self-raising flour 
3 medium eggs 

This amount of batter will give you at least 12 large cupcakes, a good-sized tray bake or a small cutting cake (say, a 5" tin).  But if you want to make bigger cakes, or more cupcakes just increase the ingredients: for every 2oz you use 1 egg.  Simples. (So: 8oz butter, 8oz sugar, 8oz SR flour means you use 4 eggs. And so on.)

The method

Switch your oven on:  gas mark 5 or about 180C.  Grease or line a tin (or line a muffin tin with paper cases).

Cream together the sugar and the butter/spread for ages until pale and fluffy.  If you have a free-standing mixer this bit is great - I just switch it on and potter around the kitchen for a while, stopping every now and then to scrape the mix from around the sides of the bowl.  An electric hand mix is also useful but my great-grandma used a good old wooden spoon and her buns were delish.

Sieve your flour than add a large spoonful together with one egg to the sugary, buttery mix.  Mix up a tiny bit.  It will look as though it's about to curdle - don't worry.  Add the remaining eggs in the same way (with a spoonful of flour) mixing a bit in between.  When all the eggs have been added, throw in the rest of the flour and mix until you get a smooth batter.  At this point, I always add a tablespoon of cold water.  (I use a tablespoon of cold water however many ounces of ingredients I use.  It just makes the batter a little looser.)

Stick a finger in the mix and test it.  (Optional but yum.)

Pop your mix in your tin/cases and bake in the oven for 25-30 minutes.  If baking a large cake with more ingredients you could need to bake for up to 45 minutes.  You know it's ready when the top of the cake is pale gold, it doesn't wobble when you move the tin and/or when you insert a skewer into the middle of the cake it comes out clean.  

(You can also tell whether a cake is cooked or not by the noise it makes.  An uncooked sponge cake will fizzle a bit and sound 'wet'. Just chuck it back into the oven for a few more minutes.)  With some cakes you have to be careful of opening the oven door when they are baking in case they sink.  As long as you let these bake for a minimum of 15 mins with the door firmly closed you'll be fine to keep popping them in and out of the oven until they are cooked to perfection.

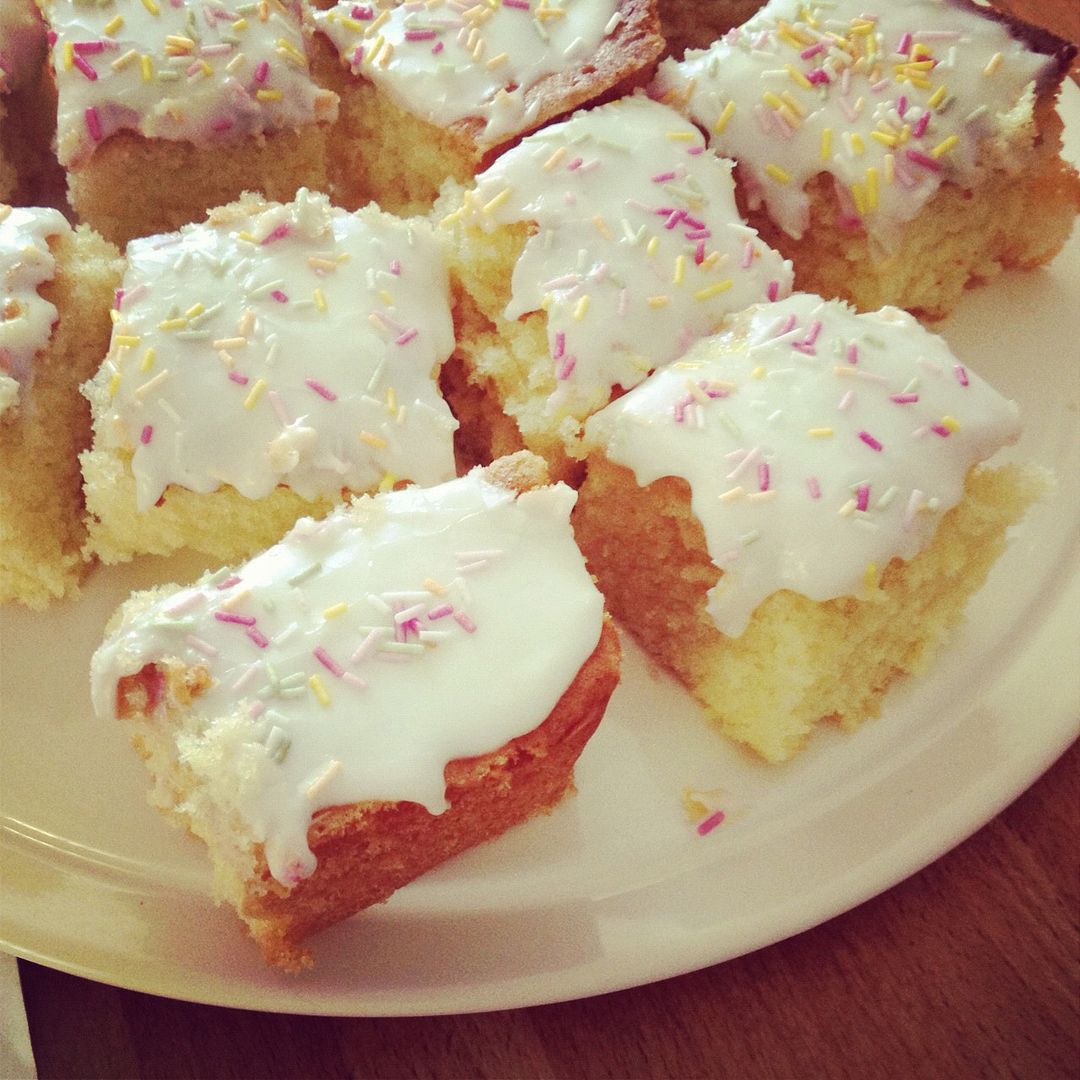
Allow to cool and decorate with your choice of topping.  A really simple option is to just make some royal icing (lots of icing sugar and a drop of water or lemon juice) and sprinkle sugar strands on the top.  That's what I did with my tray bake last week - my family calls it 'bits and bobs' cake.  It's a winner every single time.

♥♥♥♥♥♥♥♥♥

So there you have it.  A simple recipe that you can memorise and pull out wherever you may be.  I love the feeling that I always know exactly how to make a lovely cake, wherever we are, and could bake it in an empty baked bean tin if absolutely necessary.  It's like an important life skill for me!  Just remember:  666.   

It produces a lovely sponge cake but it's quite rich so won't last more than a few days (not a problem in our house).  When you get confident with this simple sponge you can start to vary the flavours:  add a tablespoon of coffee essence and frost with coffee buttercream or add a tablespoon or lemon juice and drizzle with a mix of equal parts lemon juice and sugar.  Swap out a little flour for an equal measure of sieved cocoa powder to make chocolate cake.  You could also throw in a few chopped glace cherries, raisins or chocolate chips for a bit of variety.

I am sure there are lots of you who are more experienced bakers and will have rolled your eyes at me publishing such a basic recipe but then I am hoping there will be a few of you who, like I used to, really want to learn to bake but think it sounds a bit scary.  After using this recipe a few times, you'll be well on your way to trying one of Peggy's gorgeous creations.

Nicki 

x

Sunday, 6 February 2011

General Loveliness

Such a busy week!  I've travelled a bit with work and managed to catch up with a few work friends who I haven't seen since Christmas, so that was fab.  [I realise that saying I have 'travelled a bit with work' makes my job sound glamorous and international but I went to Sheffield.  Don't want to mislead you.]

On Thursday, I was working from home when a man hiding behind an enormous bowl of white tulips appeared at the door.  The OH had sent them to cheer me up (I've got another rotten cold).  Lucky me!:


Tapas and sangria kicked off our weekend and I had a lovely time with my Mum on Saturday learning to sew.  Having redecorated our living room, spending an absolute fortune on curtains and cushions, I decided to learn how to make them myself, roping Mum in for some free lessons.   Mum made loads of my clothes when I was little (with matching outfits for my dollies, of course) so she knows what she's doing.  I have treated myself to a fancy sewing machine with all the relevant paraphernalia and I'm learning to make an apron.  I never wear aprons but the sweet old lady in the shop was quite insistent that you need a project when you learn to sew (she became really quite fierce and I found myself trotting around behind her in John Lewis picking up everything she told me I'd need without even querying it.)   Anyway, Mum came round on Saturday and the apron is very nearly finished; I'm already thrilled with my handiwork and will post a photo when it's done.  I may even donate it to the scary lady in John Lewis. 

I also managed a quick turn around the shops over the weekend and bought this lovely recipe book:


It's a gorgeous book; a thick and heavy number with matt pages and really simple photography.  I love it.  The OH, who never ever cooks, said he wanted to look after me today (aw) and used the Toad in the Hole recipe.  It was delicious and turned out really well, yay for him.  The first recipe that I make will be this one:


I could live on soup and this sounds delightful.

I've also been doing a spot of internet shopping and some pretty little Greengate bits have arrived.  I think they look quite nice with my Cornishware:


The heart-shaped ramekins were a present from Mum.   She picked them up knowing I'd love them and I do!  I bought these little Greengate bowls for my cereal but they are tiny!  I have discovered that they are the perfect size for a portion of mini eggs though...

Finally (are you still with me?!)  I've been crocheting my socks off and here is my first attempt at a square:


Not very square at all, I know.  I have been using [*blush*] a child's 'Learn to Crochet Kit' and this is the 'fancy square'.  It does say to do two single crochets in each corner to reinforce the square, which I've done, but they just don't look quite right.  Can anyone shed any light on where I've gone wrong please?  An online crochet clinic would be just the job, right now.

We all have to start somewhere, I suppose.

Have a great week!